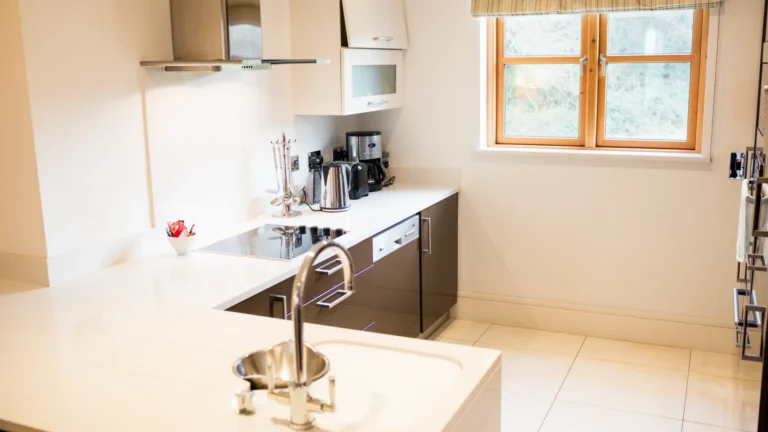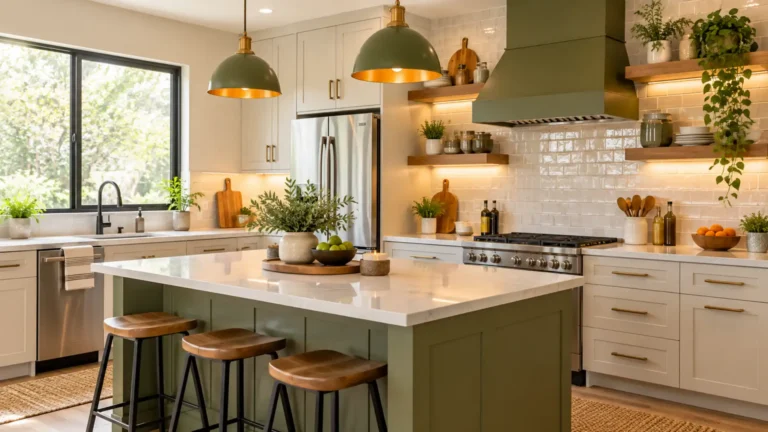
How to Reface Cabinet Doors
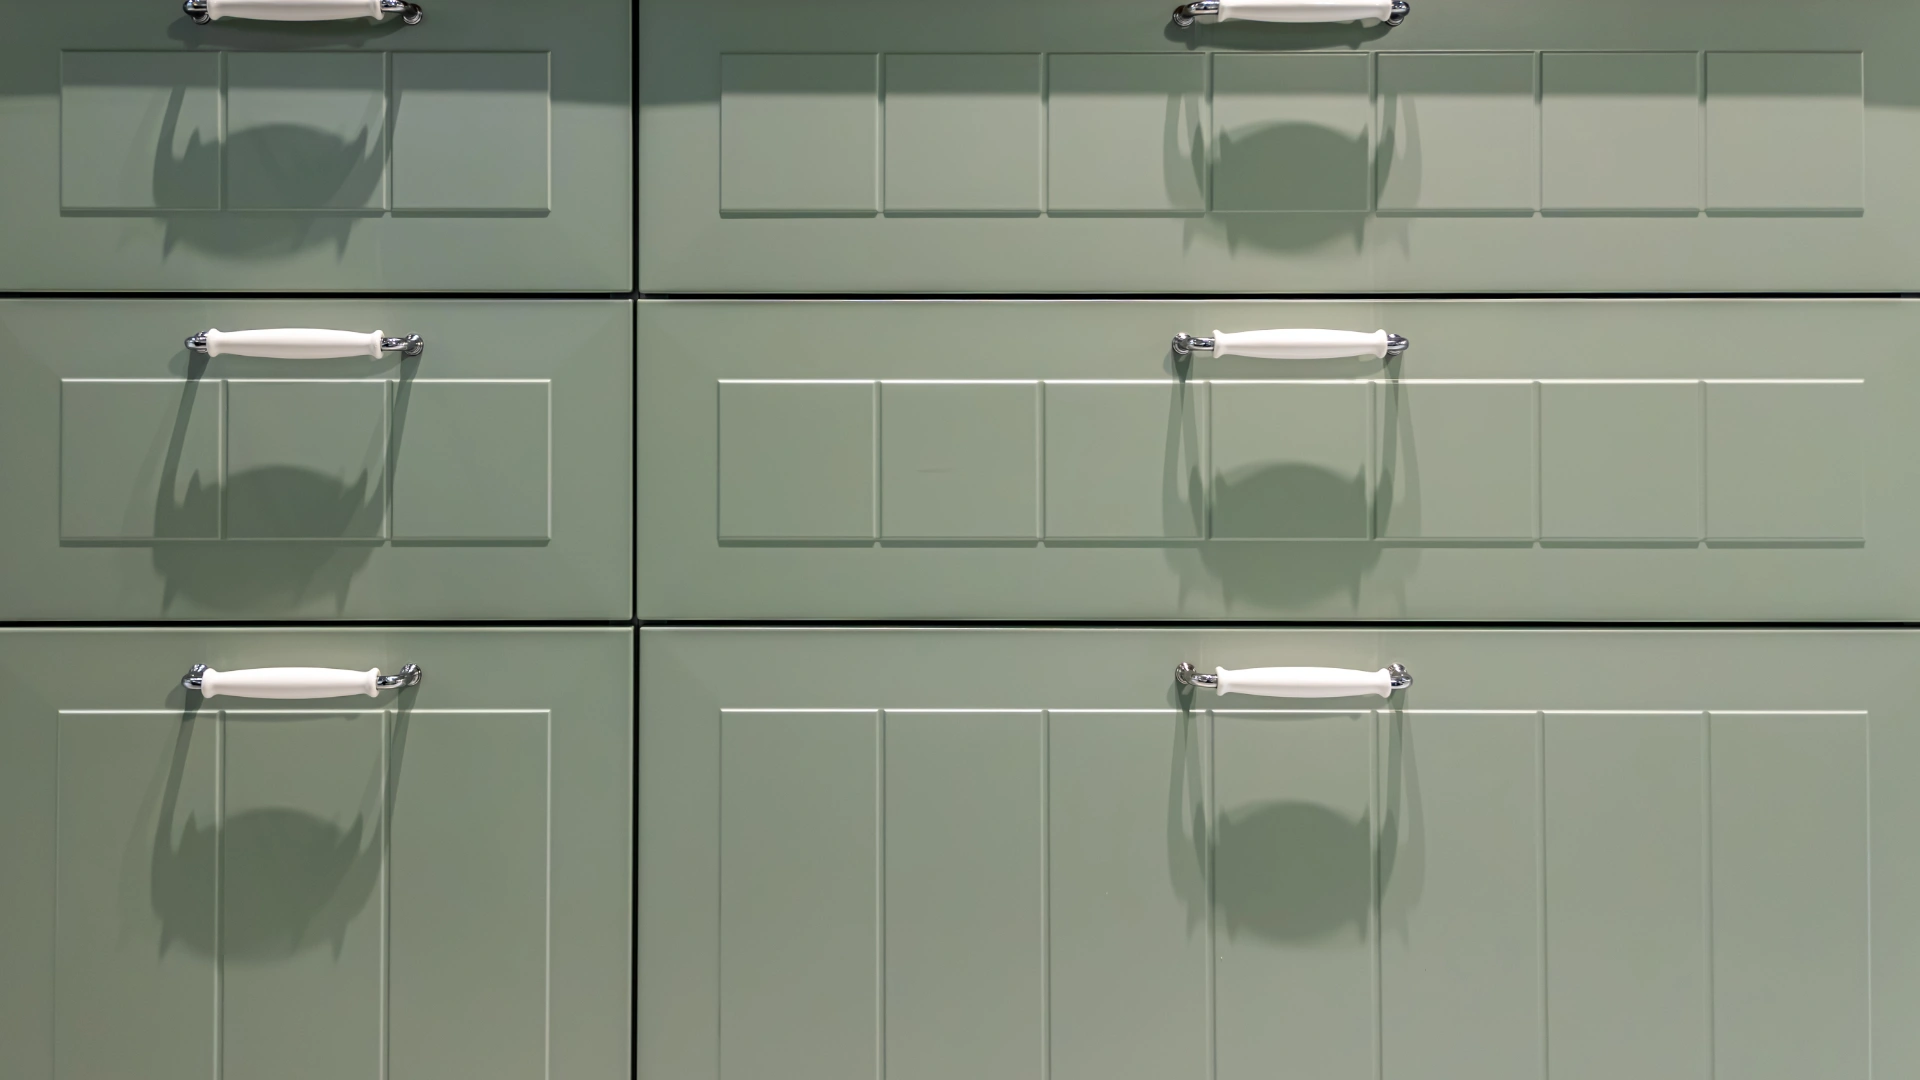
Learning how to reface cabinet doors can help you give an outdated kitchen a fresh appearance without paying for an entirely new set of cabinets. Instead of removing every cabinet box, you can replace the doors and drawer fronts, update the visible frames, and install new hardware while keeping the existing cabinet structure. Cabinet refacing is especially useful when the cabinet boxes are sturdy but the doors look dated, scratched, or worn. You can choose modern flat-panel doors, classic Shaker styles, new wood finishes, or painted surfaces to change the overall appearance of the kitchen. However, successful refacing requires more than buying new doors. You need to inspect the existing cabinets, measure every opening accurately, select compatible materials, prepare the surfaces, and install the new components correctly. The following guide explains how to approach the project, control costs, and avoid common mistakes.
What Does It Mean to Reface Cabinet Doors?
Cabinet refacing is a renovation method that updates the visible parts of existing cabinets while preserving the cabinet boxes. A typical project may involve replacing cabinet doors and drawer fronts, applying matching veneer or another suitable finish to exposed cabinet frames, and installing new hinges, knobs, and pulls.
Replacing the doors alone is sometimes described as a cabinet door replacement rather than complete refacing. The distinction matters because new doors attached to old, visibly worn frames may not produce the coordinated appearance you want. A complete refacing project generally aims to make the doors, drawer fronts, and exposed cabinet surfaces look like a consistent set.
When Should You Reface Cabinet Doors?
Before starting, determine whether your existing cabinets are suitable for refacing. The condition of the cabinet boxes will largely determine whether this approach is worthwhile. Refacing is a good option when:
- The cabinet boxes are structurally sound.
- The existing kitchen layout works well.
- The doors are damaged, outdated, or unattractive.
- You want a different cabinet style without replacing everything.
- The shelves and storage areas remain functional.
- You want to reduce the disruption associated with a complete renovation.
Refacing may not be appropriate when the cabinet boxes have extensive water damage, weakened joints, deteriorating particleboard, mold caused by unresolved moisture, or unsafe wall attachments. In those situations, repairing the underlying problem or replacing the affected cabinets may be more practical. New doors cannot correct a damaged cabinet structure.
Choose the Right Cabinet Refacing Method
there are several ways to update cabinet doors, and the right choice depends on your budget, existing materials, and preferred appearance.
Replace the Cabinet Doors and Drawer Fronts
This option involves removing the existing doors and drawer fronts and installing new ones. You keep the cabinet boxes and may retain the existing frames if they are in good condition. It is a practical choice when the cabinet frames already look attractive or can be refinished separately. You can select replacement doors in a different style, material, or color. However, the new doors must fit the existing cabinet openings and work with the chosen hinge system.
Apply Veneer to the Cabinet Frames
Cabinet veneer is a thin finishing material applied to exposed cabinet surfaces. It can help coordinate the appearance of the frames with newly installed doors. Veneer is available in various wood species, colors, and finishes. Some products are designed to match specific cabinet door styles. The surface must be clean, stable, and appropriately prepared for the selected adhesive or application system. Damaged or swollen cabinet material should not simply be covered with veneer.
Paint the Existing Doors and Frames
Painting is another option when the existing doors are structurally sound and you want to preserve them. The process involves removing the doors, cleaning and preparing the surfaces, applying a compatible primer when required, and finishing with suitable cabinet paint. Painting is generally a different approach from replacing the doors, but it can be combined with new hardware or selected replacement components to create a more complete update.
Refinish Suitable Wood Doors
If your existing doors are solid wood or have a suitable wood veneer, refinishing may restore their appearance or change their color. The feasibility depends on the thickness and condition of the existing surface. Thin veneers can be damaged by aggressive sanding, so identify the material before removing the finish.
Tools and Materials Needed to Reface Cabinet Doors
Gather your supplies before removing the existing doors. Having everything ready can help prevent delays and reduce the risk of damaging the cabinet components. Common supplies include:
- Measuring tape and straightedge
- Pencil and labeling tape
- Drill or screwdriver
- Compatible replacement cabinet doors and drawer fronts
- Suitable hinges and mounting plates
- Knobs or pulls
- Cleaning and degreasing products
- Sandpaper or an appropriate surface-preparation tool
- Compatible primer and cabinet paint, if painting
- Cabinet veneer and suitable adhesive, if refacing frames
- Clamps and application tools required by the chosen veneer system
- Safety glasses, gloves, and appropriate dust protection
Not every project requires all these materials. The supplies you need will depend on whether you are replacing doors only, applying veneer, painting, or combining several methods.
Step 1: Inspect the Existing Cabinet Boxes
Begin by opening every cabinet and checking the condition of the structure. Look for loose joints, sagging shelves, damaged hinges, swollen panels, and signs of moisture around sinks and appliances. Check that the doors can be removed without pulling apart damaged mounting areas.
Examine the exposed cabinet frames, end panels, and sides. If these surfaces will remain visible after refacing, they need to be in suitable condition for the new finish. Repair minor issues before proceeding. If the cabinet boxes are unstable or extensively damaged, reassess whether refacing is the right solution.
Step 2: Remove the Existing Cabinet Doors
Remove the cabinet doors carefully using a screwdriver or drill with the appropriate bit. Support each door while removing the final screws so it does not fall and damage the hinges, cabinet frame, or surrounding surfaces. Label every door according to its original location. For example, identify the cabinet section and whether the door belongs on the left or right side.
Keep reusable hinges and screws organized in labeled containers. Even if you plan to install new hardware, preserving the original components can help you compare dimensions and mounting arrangements. Remove drawer fronts separately when the chosen refacing method requires replacement. Take care not to damage the drawer boxes or their fastening points.
Step 3: Measure Every Cabinet Door Opening
Accurate measurements are essential when ordering replacement cabinet doors. A small error can result in uneven gaps, doors that collide, or hardware that does not align. Measure each door individually rather than assuming every opening has identical dimensions. Record the width and height of each opening, along with the existing door dimensions if you plan to reproduce the same coverage. Also note the cabinet’s construction, the desired overlay, and the hinge mounting requirements.
Understand Cabinet Door Overlay
The overlay describes how much a cabinet door covers the cabinet frame around its opening. Different cabinets use different door configurations, including partial-overlay and full-overlay designs. Some cabinets use inset doors that fit within the frame opening. These styles require different dimensions and hardware arrangements. Before ordering, identify your existing configuration or select a new system designed for your cabinet construction. Ask the door supplier which measurements are required. Some suppliers request opening dimensions and calculate the door size, while others require the finished door dimensions directly. Do not apply a universal measurement allowance without confirming the manufacturer’s instructions.
Step 4: Choose Your New Cabinet Door Style
The style of the replacement doors has a major influence on the finished kitchen.
Shaker Cabinet Doors
Shaker doors have a flat center panel surrounded by a simple frame. Their restrained design works well in traditional, transitional, farmhouse, and contemporary kitchens. They are a versatile option when you want a noticeable update without choosing an unusually decorative style.
Flat-Panel Cabinet Doors
Flat-panel doors have a smooth, uncomplicated surface. They can create a clean, modern appearance and are often easier to coordinate with contemporary hardware and finishes. They may also be a practical choice when you want the cabinet color or material to become the main visual feature.
Raised-Panel Cabinet Doors
Raised-panel doors have a more traditional appearance, with a center panel that projects above the surrounding frame. They can complement classic kitchens and detailed cabinetry, particularly when the existing room already includes traditional trim or decorative elements.
Slab Cabinet Doors
Slab doors are made with a single flat face and no traditional frame detail on the front. They can create a streamlined appearance in modern kitchens. heck the material and finish carefully because the simplicity of the design makes surface imperfections and alignment more noticeable.
Step 5: Select the Door Material and Finish
Replacement cabinet doors are available in several materials, each with different costs, appearances, and maintenance requirements. Solid wood: Offers natural grain and can often be refinished, depending on the construction and finish. Wood may respond to changes in humidity, so suitable construction and installation are important. Wood veneer: Provides a genuine wood surface over a supporting material. It can offer a natural appearance while using less solid wood, but the thin surface requires appropriate care. Medium-density fiberboard (MDF): Often used for painted doors because it can provide a smooth surface. Its suitability depends on the product and exposure conditions, particularly around moisture.
Laminate or other manufactured finishes: Can provide consistent colors and patterns. Confirm that the replacement product is suitable for kitchen use and follow its care instructions. Consider the material, finish durability, cleaning requirements, and compatibility with the existing cabinet frames before ordering.When planning the overall look, consider how your cabinet doors will work with the rest of the room. These How to Reface Cabinet Doors ideas can complement other small-kitchen improvements and help you create a more cohesive, functional space without committing to a full renovation.
Step 6: Prepare the Cabinet Frames
If you are refacing the cabinet frames as well as replacing the doors, prepare the exposed surfaces before applying veneer or paint. Remove grease, dust, and residue using a cleaner appropriate for the existing material. Allow the surfaces to dry completely. Repair minor defects and remove loose or failing finishes. Follow the selected product’s instructions for sanding, priming, or other preparation. If applying veneer, make sure the substrate is stable, smooth, and compatible with the adhesive. Some products require specific surface conditions or application temperatures. Do not cover swollen particleboard, loose laminate, or damaged material without correcting the underlying issue. A new surface cannot reliably compensate for a weak substrate.
Step 7: Apply Cabinet Veneer Where Needed
Cabinet veneer can help make the exposed frames and sides coordinate with the new doors. Measure each surface and cut the veneer according to the manufacturer’s instructions. Some veneer products have an adhesive backing, while others require a separate compatible adhesive. Position the material carefully and apply it using the recommended tools and pressure. Avoid trapping air bubbles, creating wrinkles, or stretching the veneer.
Trim excess material with an appropriate tool and finish the edges as directed by the product manufacturer. Test your technique on an inconspicuous area or spare material first. The correct method depends on the veneer type, adhesive, and cabinet substrate. If the frames are already smooth and the new doors are intended to contrast with them, veneer may not be necessary. Choose the approach that produces the most cohesive result for your kitchen.
Step 8: Paint or Refinish the Cabinet Frames
If you are changing the cabinet color, prepare and finish the frames before installing the new doors. Clean and degrease the surfaces, repair minor defects, and prepare the existing finish according to the coating manufacturer’s recommendations. Apply a compatible primer when required, followed by suitable cabinet paint in thin, even coats. Allow the recommended drying and curing time before handling or installing components. For wood staining or refinishing, first confirm that the existing material can be treated successfully. Painted MDF, thin veneer, and laminate require different preparation methods from unfinished solid wood. Use the same planned color and sheen across the visible cabinet frames and any other surfaces that need to match.
Step 9: Install the New Cabinet Doors
Once the cabinet frames are ready and the finish has cured sufficiently, begin installing the replacement doors. First, confirm that the doors, hinges, and mounting plates are compatible with the cabinet construction. Attach the hardware according to the manufacturer’s instructions. Use the specified screw sizes and avoid overtightening fasteners, which can damage the door material or mounting points. Support each door while securing it. Install a few doors first and check their alignment before proceeding with the entire kitchen.
Adjust the hinges as necessary to achieve consistent spacing between neighboring doors and drawers. Check that doors open freely and do not strike adjacent cabinets, walls, or appliances. If the replacement doors use a different overlay or mounting arrangement, follow the supplier’s installation requirements rather than assuming the original hinge positions will work.
Step 10: Replace Drawer Fronts and Update Hardware
If your project includes drawer fronts, measure and install them using the appropriate fastening method. Check that the drawer boxes remain square and that the new fronts do not interfere with nearby doors or cabinet frames. Next, install the selected knobs or pulls. Measure carefully and use a template or guide to keep the holes consistently positioned. If you are reusing existing hardware, inspect it for wear and confirm that the screws are suitable for the new door thickness. New hardware is not essential, but it can help unify the finished design, especially when the replacement doors differ substantially from the originals.
How Much Does It Cost to Reface Cabinet Doors?
The cost of refacing cabinet doors depends on the number of doors and drawer fronts, material selection, hardware, surface preparation, and whether you complete the work yourself or hire a professional. Replacing doors alone generally involves fewer materials and less work than a full refacing project that also includes veneer on cabinet frames and exposed sides. A professional project may cost several thousand dollars, with larger kitchens, premium materials, and extensive customization costing considerably more. These are broad planning expectations rather than a quote for your kitchen. Your budget should account for:
| Cost category | What affects the price |
| Replacement doors | Door count, dimensions, style, and material |
| Drawer fronts | Quantity, size, and finish |
| Hardware | Hinges, mounting plates, knobs, and pulls |
| Frame finishing | Veneer, adhesive, primer, paint, or stain |
| Preparation | Cleaning, repairs, and surface preparation |
| Installation | DIY supplies or professional labor |
| Additional work | End panels, fillers, trim, and adjustments |
Request itemized estimates if you are hiring a professional. Confirm whether the price includes measuring, ordering, removing old doors, applying veneer, installing new hardware, and disposing of unwanted materials.
Is It Cheaper to Reface Cabinet Doors or Replace the Cabinets?
Refacing is often less expensive than complete cabinet replacement because it preserves the existing cabinet boxes and avoids some removal and installation work. However, the savings depend on the condition of the existing cabinets and the complexity of the refacing project. Refacing is usually worth considering when the layout works well, the boxes are sturdy, and you mainly want a new appearance. Complete replacement may be more appropriate when the cabinet boxes are deteriorating, storage needs have changed substantially, or the layout no longer works for your household. Compare the total project costs rather than focusing only on the price of new doors. Include labor, hardware, finishing, repairs, and any related countertop or backsplash work.
DIY Cabinet Door Refacing vs. Hiring a Professional
DIY refacing can reduce labor expenses if you are comfortable with accurate measuring, surface preparation, hardware installation, and finishing work. Replacing doors alone may be manageable for an experienced homeowner, especially when the cabinet boxes are in good condition and the new doors fit the existing configuration.
Professional help may be worthwhile when you need custom-sized doors, extensive veneer work, complicated hinge arrangements, or repairs to damaged cabinet frames. A professional can also help confirm measurements before ordering, which can prevent expensive mistakes. If you choose to hire someone, ask for examples of completed work, a written scope of services, material specifications, and a clear explanation of how unexpected repairs will be priced.
Common Mistakes to Avoid When Refacing Cabinet Doors
Measuring only one door: Existing doors may have different dimensions, even within the same kitchen. Measure each component individually. Ignoring the cabinet overlay: Replacement doors must match the intended door configuration and hinge arrangement. Refacing damaged cabinet boxes: Veneer and new doors cannot solve structural deterioration or unresolved water damage. Choosing incompatible materials: Paint, adhesives, veneer, and door materials must be suitable for the existing surfaces and kitchen conditions.
Skipping surface preparation: Grease, dust, and loose finishes can prevent coatings and adhesives from performing properly. Rushing installation: Poor alignment creates uneven gaps and doors that may rub against neighboring components. Forgetting the cabinet frames: New doors may look mismatched if the visible frames remain damaged or have a different finish. Underestimating the budget: Hardware, drawer fronts, veneer, finishing materials, and installation can add significantly to the cost.
FAQs About How to Reface Cabinet Doors
Can I reface cabinet doors without replacing the cabinet boxes?
Yes. Preserving the cabinet boxes is one of the main advantages of refacing. You can replace the doors and drawer fronts and update the exposed frames as long as the existing structure is suitable for the work.
Can I reface laminate cabinet doors?
It depends on the condition of the laminate and the method you choose. Some laminate surfaces can be painted or covered with compatible materials after proper preparation. Replacement doors may be a better option when the existing laminate is peeling, swollen, or damaged.
Can I install new cabinet doors on old cabinets?
Yes, provided the cabinet boxes and mounting points are sound and the replacement doors are measured correctly. You must also confirm the overlay, hinge compatibility, and door clearances.
Do I need to replace the hinges when refacing cabinet doors?
Not always. Existing hinges can be reused if they are in good condition and compatible with the new doors. However, damaged hinges or a different door configuration may require new hardware.
How long does cabinet door refacing take?
The timeline depends on the number of doors, availability of replacement components, surface preparation, and whether you are applying veneer or paint. Ordering custom doors may add lead time, while painting and adhesive systems require appropriate drying or curing periods.
Is cabinet refacing worth it?
It can be worthwhile when the existing cabinet boxes are sound and you want a substantial visual update without a complete renovation. It is less attractive when the cabinet structure is damaged or the existing layout needs major changes.
Can I change the color of my cabinets while refacing the doors?
Yes. You can choose replacement doors in a new finish and coordinate the cabinet frames through painting, refinishing, or veneer. Test materials and colors together before completing the entire kitchen.
Conclusion
Learning how to reface cabinet doors gives you a practical way to update your kitchen without automatically replacing every cabinet. When the cabinet boxes are sturdy, new doors, drawer fronts, veneer, and hardware can create a coordinated appearance while preserving the existing structure. Start by inspecting the cabinets, measuring every door, choosing compatible materials, and deciding whether the frames also need refinishing. Follow the product instructions during preparation and installation, and allow adequate time for finishes and adhesives to cure. Finally, compare the full cost of refacing with the cost of complete replacement. The best option is the one that improves the kitchen’s appearance and functionality while respecting your budget and the condition of the existing cabinetry.